Time: 2+ days
Skill level: Intermediate
Cost: $$-$$$
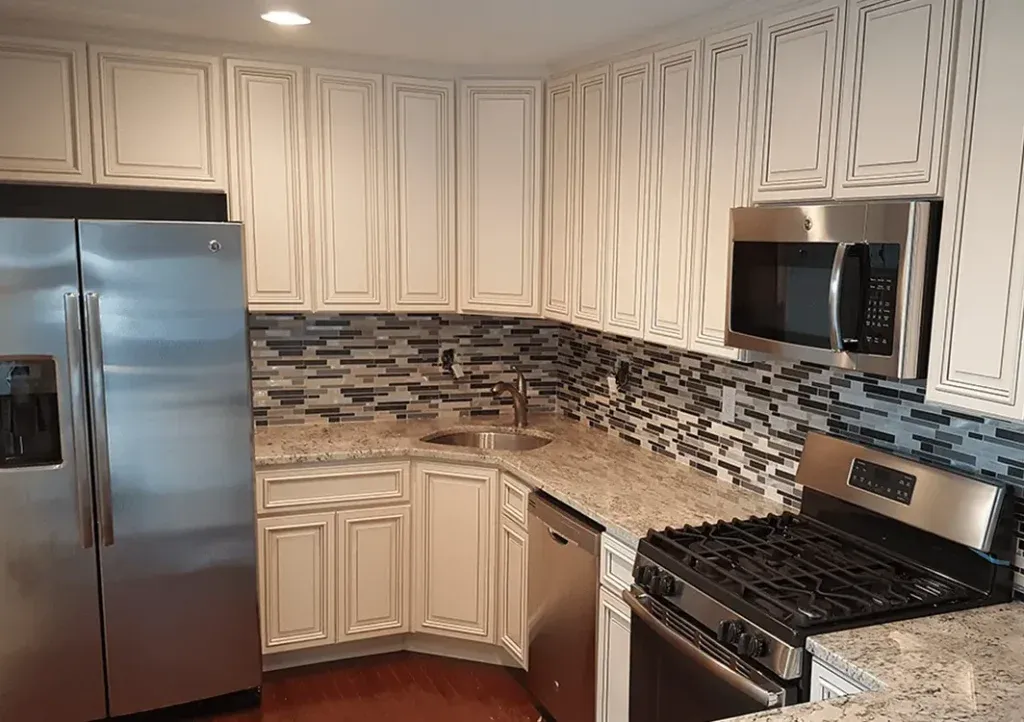
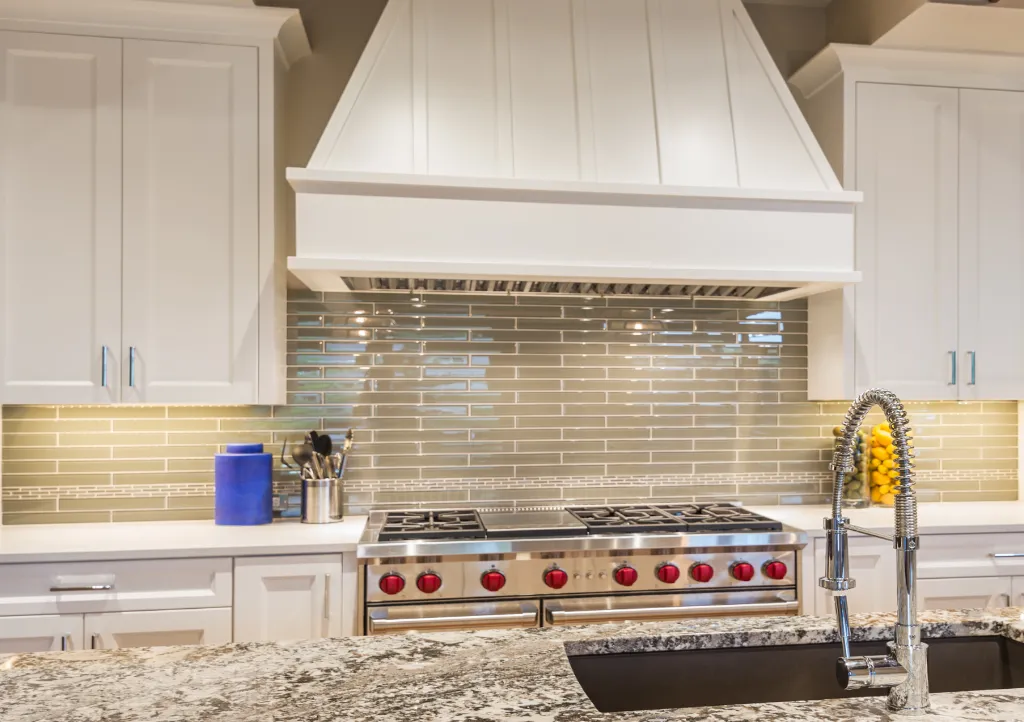
Are you hoping to transform your kitchen with a beautiful new tile backsplash? But are you wondering how to install a tile backsplash?
Installing a tile backsplash in your kitchen is one of the best remodeling ideas to add style and personality to the room. Whether you’re looking for a classic white tile or something more modern and bold, there are plenty of options to choose from that can fit any budget.
In this guide, we’ll outline all the steps you need to take in order to install a tile backsplash in your kitchen. After reading this article, you should know enough to handle the job yourself.
Tools:
- Notched trowel
- Grout float
- Level
- Tape measure
- Pencil
- Painters tape
- Wet saw or manual tile cutter (depends on the type of tile)
- Putty knife/utility knife
- Wire brush
- Sandpaper
- Sponges and bucket
- Safety glasses
- Work gloves
- Tile spacers
- Drop cloth
Materials:
- Tiles
- Schluter strips (optional)
- Adhesive (or mortar)
How To Install A Tile Backsplash In Your Kitchen
Let’s dive into the process of installing tile backsplash in kitchens. Don’t forget to lay down a drop cloth to protect your counters and floors before starting your backsplash installation.
1. Measure the Area
Start by measuring the length and width of the section of the wall where the backsplash will be installed. Then, multiply these numbers to calculate the total square footage.
Keep in mind that you may need to make adjustments for odd-shaped areas, such as switches and outlets. Once you have the square footage, add 10 percent to account for waste and mistakes. This is the minimum amount of tiles you should purchase.
2. Remove Old Tiling
Use a putty knife or utility knife to score the grout between the tiles. Once the tile is loose, pry up and remove it. If necessary, you can use a chisel and hammer to remove any stubborn pieces of tile. If there is any old adhesive residue left behind, use a scraper or wire brush to remove it.
3. Clean And Prep The Wall For Tile Work
Any tile job–whether on floors, walls, or backsplashes–begins with careful surface preparation. Tile won’t adhere properly to a surface that isn’t clean, smooth, and free of debris, so prep work is critical to the success of your tile installation.
Begin by wiping down the surface of the wall with warm soapy water to rid it of dirt and grease. You may need to use a degreaser or all-purpose cleaner.
Then use a scraper or sandpaper to remove any adhesive residue from previous tiling work and smooth out bumps in the plasterwork. Make sure the surface is completely dust-free, as any particles will impede successful grout application once you’re ready to start laying tiles.
Lastly, make sure you wipe down the surface with an old rag to ensure it is dry.
4. Draw Center Point And Measuring Lines
The center point for your tile backsplash will depend on where you want the focal point to be.
To begin, draw two perpendicular lines on the wall using painter’s tape as a guide. From there, you’ll want to measure out equal sections along each line and mark where their intersection would be; this serves as your center point for your project.
Use the center point as a reference point for where to line up your tiles. Setting up this grid will help keep even spacing and make it easier to maintain an organized layout.
5. Pre-Lay Tile For Correct Fit
To ensure you have a professional-looking project, be sure that you pre-lay each piece of tile. This involves laying out all the tiles next to one another on the wall they will be applied to. Now you can assess the overall size and check that each tile lines up perfectly. Mark the location of the tiles with a pencil as you remove them.
This is also a great opportunity to try different orientations of the tiles to see what looks best. Certain tiles can look better when laid in different directions.
6. Install Schluter Strip (Optional)
Although not necessary for all types of tiles, a Schluter strip can help to make the tile installation process easier. Schluter strips are made of aluminum or plastic and are used to create a smooth transition between the tile and the wall. They also protect the edge of the tile from chipping.
If you are using a Schluter strip for your tile installation, attach it to the wall with adhesive where you plan to end your tile backsplash.
7. Cut Tile Where Needed To Fit
You may need to cut tiles to fill in odd spaces or around power outlets and other obstacles. This can be achieved with a manual tile cutter or a wet saw, depending on what type of tile you are working with. In general, ceramic or porcelain tile can be cut with a manual tile cutter. Natural stone tile will require the use of a wet saw.
Remember to measure twice and cut once so you don’t waste any tile. If needed, you can smooth the edges of the tile using some sandpaper.
8. Prep And Apply Adhesive
Now that your surface is clean and your tile is cut, it’s time to prep your mortar (or other adhesive material) and apply it to the wall. Be sure to use the best adhesive for kitchen backsplashes.
Prep: Preparation instructions for adhesives and mortars will vary depending on the manufacturer. Some pre-mixed adhesives are ready to go straight from the package.
Mortars will often need to be mixed with water and allowed to set. Calculate how much mortar you will need for your backsplash and mix it in a bucket according to the manufacturer’s instructions. For aesthetic reasons, it’s a good idea to use a light-colored adhesive or mortar if you are installing a light-colored tile and vice versa for a dark-colored tile.
Application: Apply the tile adhesive or mortar in vertical strips no wider than 12 inches. Then smooth it out with the notched edge of the trowel to create consistent coverage over the entire surface.
Use a putty knife to smooth it further, so there are no air pockets. The adhesive you applied should be about 1/4-inch thick. Follow the manufacturer’s instructions for how long to let the adhesive set before laying the tile.
9. Start Laying Tile

Begin laying the tile in your desired pattern, working from the bottom up using spacers between each tile to ensure even spacing. Use a damp sponge to wipe off any excess adhesive or mortar.
After all of the tiles are in place, allow the adhesive to dry according to the manufacturer’s instructions. While the dry time will vary by manufacturer, this often takes 24 hours.
10. Ensure Tiles Are Evenly Set
Use the grout float to gently push against the tiles to ensure they are evenly set into the adhesive. You can use a level to verify the tiles are lying flat against the wall.
11. Apply Tile Grout
First, mix the grout according to the manufacturer’s instructions, then grout the tile using a grout float. Starting at the top of the backsplash, work your way down, applying the grout by moving the grout float diagonally across the tilework. Rock the grout float with a back-and-forth motion to ensure the grout is worked into the gaps and that there are no air pockets.
Use the dull side of your utility knife to scrape away the excess grout from the inside corners and joints where the tilework ends. This allows the tiles to move slightly as the grout dries and helps prevent the grout from cracking.
12. Wipe Tile With Sponge
After you have worked the grout into all the gaps between the tiles, wipe away any excess grout with a damp sponge or rag. Make sure to do this while the grout is still wet to make it easier.
13. Seal The Tile Grout
After the grout is dry, mix up a batch of grout sealer according to the manufacturer’s instructions and apply it to the grout with a brush or sponge. Allow the sealer to dry for the recommended amount of time, then use a damp sponge to remove any excess sealer from the tile surface. You may need to use a putty knife to remove any stubborn residue.
14. Caulk Around The Edges
Caulking around the edges of the tile backsplash will ensure water won’t seep behind the tilework.
Start by cleaning the areas around the edges of the tilework with a damp sponge to ensure the caulk will adhere.
Next, apply a bead of caulk along all the seams where the tile meets the wall or countertop. Use a wet finger to smooth out the caulk so that it’s flush with the tile.
Finally, allow the caulk to set (this may take 24 hours) before using the area. Once it’s set, your tile backsplash will be protected from moisture damage.
15. Clean Off The Tile
Clean the tile backsplash with mild detergent and a soft cloth. Avoid using abrasive cleaners or scrubbers, as these can damage the tile or the grout sealant.
Get Your Kitchen Remodeled by the Pros at Brucksch & Sons Remodeling
Installing a new tile backsplash is a great way to give your kitchen a facelift. But if you’re not comfortable taking on this project yourself, our team is here to help. Brucksch & Sons Remodeling has been bringing homeowners’ dream kitchens to life since 2011.
We work with homeowners in Pasadena, MD, and throughout Anne Arundel County and would be happy to help you plan your kitchen remodel. Fill out our contact form today, and we’ll be in touch soon.