Cost: $200+
Time: 2+ hours
Difficulty: Advanced
Is your sink looking a little outdated, or is it corroding and leaking? Do you want to try replacing it on your own?
Then you’re in luck! This blog post covers how to replace a kitchen sink, both drop-in and undermount. By the end of this post, you’ll know if you can DIY this project or if you are going to want to hire a professional.
Read on to find out more about how to replace your existing kitchen sink with one that spice up your style and add some modern convenience.
Tools
- Gloves
- Safety Glasses
- Tape Measure
- Flashlight
- Bucket
- Hack Saw
- Screwdriver
- Utility Knife
- Putty Knife
- Adjustable Wrenches
- Socket Wrench
- Pipe Wrench
- Caulk Gun
- Bag (for small parts)
Materials
- Undermount Sink or Drop-In Sink
- Towels
- Plumber’s Putty
- Silicone Caulk
- Drainpipes
- Fittings
- Transition Coupling (in case of rusty pipes)
How To Replace Your Kitchen Sink
1. Remove The Old Kitchen Sink

- To turn off the water, find the knob controlling the water supply that’s under your sink and turn it. Test the faucet to make sure no water comes out.
- Find the drain trap and put the bucket under it to catch any water. Then, unscrew the slip nuts by turning them to the left until they are fully loose from the sink’s pipes. Carefully take off the old drain trap.
- Detach the water supply tubes located beneath the existing sink. Look for the coupling nuts which secure them to the faucet sink tailpiece. To disconnect them from your existing fixture, simply loosen those coupler nuts. Have a bucket and towel nearby to dry up any water that spills out.
- Don’t forget to detach any extra plumbing fixtures. Apart from the standard sink, some designs may also feature a hand sprayer and garbage disposal.
- If you have an undermount sink, then now is the perfect time to take out any retaining clips that are holding it in place.
- For a precise cut, use a utility knife or straight edge to slice through the caulking around your sink where it connects with your countertop.
- When the caulking has been properly removed, lift and remove the sink from its place. If you can’t pull the sink away from the counter, it probably means something is still connected, or there’s some caulk residue left behind that needs to be cut.
- With the old sink removed, use a box cutter or metal putty knife to scrape off any leftover dirt and caulk. Clean the countertop well to make it ready for the new sink.
2. Check Your Countertop Opening Size
Before you install the sink, you need to make sure that it will fit in the allotted space. Measure the opening of your countertop and compare it to the measurements of your sink. Keep in mind that you will also need additional space for cabinets or drawers underneath, if applicable.
*Use this measurement and those of your previous sink to help you buy a new sink that will fit.
3. Install The Sink Fixtures

Next up is installing the sink fixtures. Connecting the faucet and handles to their respective hoses can be tricky, so take your time and make sure each connection is secure before moving on. Check for any leaks throughout this entire process; if everything looks good, move on to the next step.
4. Install A Drain Strainer
Install the drain strainer in its designated spot in your countertop opening. This piece helps prevent food particles from entering your plumbing system and clogging up drains. Securely attach it using silicone caulk or some other sealant material around its edges for extra assurance that it won’t come loose over time.
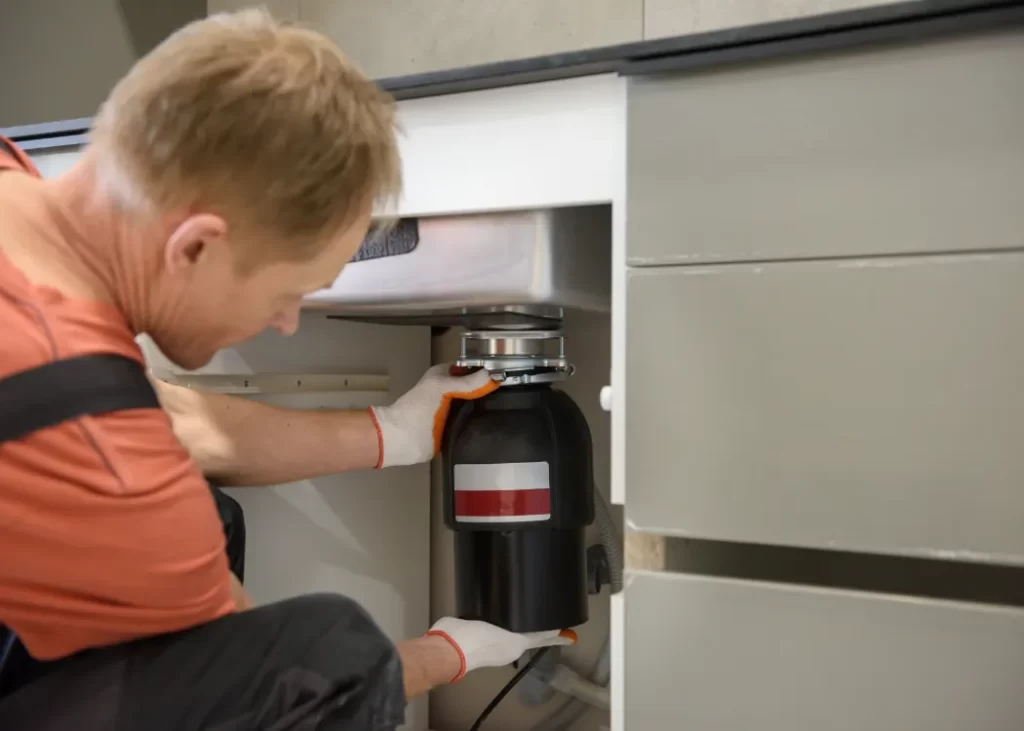
5. Install The Garbage Disposal Mount (Optional)
If you have a garbage disposal unit installed underneath your sink, now is the time to install any additional mountings or brackets necessary for it to fit properly into place when dropped in later on.
6. Apply Silicone Caulk
Apply silicone caulk around the perimeter of the countertop cutout (for drop-in sinks) or the lip of the sink (for undermount sinks) for an extra secure hold once everything is fastened together later on down the line. This can also help to prevent spilled water from leaking down into the space beneath the sink.
7. Drop Or Raise The New Sink Into Place

Once this area has been properly prepped, you are ready to install a kitchen sink!
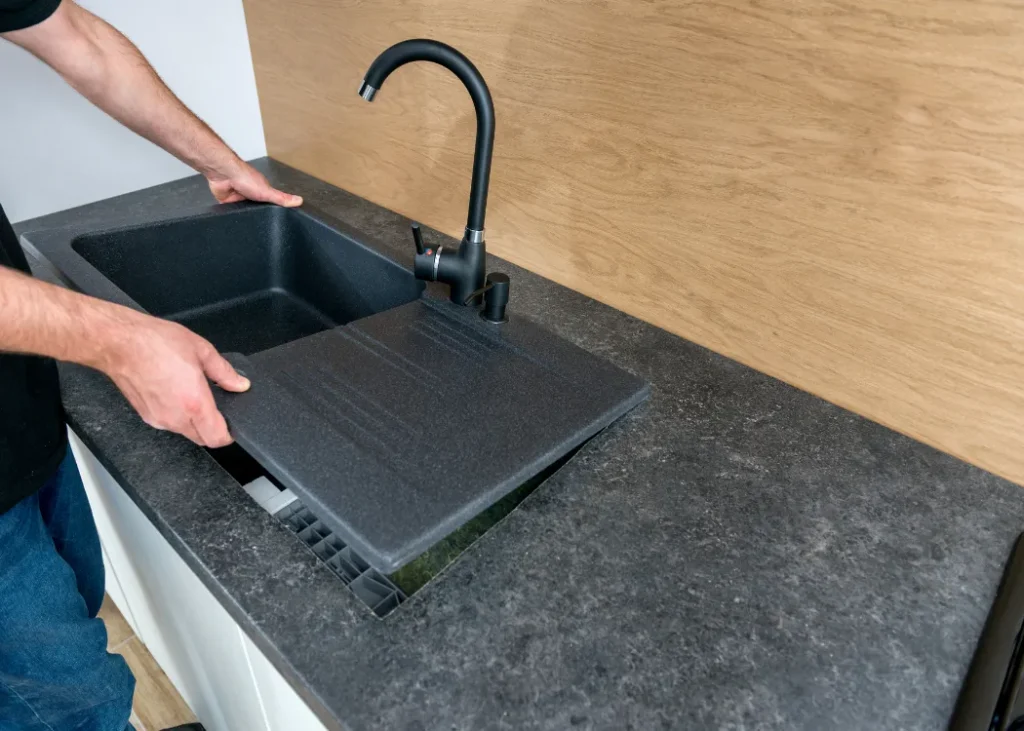
If installing an undermount kitchen sink, it is best to have some help when raising it into its designated spot. Make sure not to damage any surrounding materials like tile or the countertop.
When installing a drop-in style kitchen sink, simply drop it into place (well, gently lower it), making sure it is centered correctly before attaching clips later on in this process.
Wipe away any excess caulk that comes out from under the edge. This will help it to look neater.
8. Attach The Clips
Most sinks come equipped with self-tapping mounting clips, which allow you to secure them without having to drill holes into ceramic materials like tile or marble countertops (but metal clips do require drilling).
Make sure these clips are evenly spaced out before tightening them down with a screwdriver. This will ensure that your new kitchen sink does not move when touched or bumped up against. Be careful not to over-tighten screws, as this could lead to the cracking of surrounding tiles or countertops due to excess pressure being applied.
9. Reconnect Water Supply Lines
You need to be careful when resecuring the water supply lines. Make sure that you fasten them tightly, but be aware of not stripping or overtightening any threads. You don’t want them to leak, but you also don’t want them stuck in the case of future repairs or replacements.
10. Install Garbage Disposal (optional)

Make sure to read and follow the manufacturer’s directions when installing a garbage disposal.
Connect your discharge tube (which runs from your sink up through your cabinet) using plumbers’ putty beneath each connection point. Also, use Teflon tape or pipe joint compound above each connection point when you tighten nuts onto each threaded end of both hoses/pipes.
Connect your electrical supply wires from under your sink cabinet to their designated terminals on top of the garbage disposal unit itself (you’ll see them clearly marked). Connect each wire separately using wire nuts and electrical tape for safety purposes. Again, double-check these connections by giving them a tug; they shouldn’t move at all. It’s important that these connections are secure so that no water enters them during the operation of your garbage disposal unit.
11. Attach Dishwasher Line (optional)
Attach one end of your new dishwasher line directly to the existing drainpipe connection underneath your sink using a clamp or other fastening device. Make sure that this connection is secure before moving on.
Connect the other end of this same dishwasher line directly to a top fitting located on either side of your kitchen sink before gently pushing it into place. You should hear or feel it click into place securely.
Finally, apply silicone sealant around each connection point (both at the under-sink and at the top) once all connections are secure. This helps to create an airtight seal and prevent any future water leaks.
12. Reconnect Drain Trap
Make sure to handle the sink drain trap carefully. Firmly fix all plugs, fittings, screws, or taps that keep the drain trap securely in place. Make sure you take care of every detail before you’re done. Even small gaps can cause water pressure to drop or make it take longer for water to drain.
13. Seal The Top Of The Sink Edge (Drop-in Sinks Only)

Put a small bead of the silicone caulk around the edge of the sink to seal it. This will help keep water out of the space beneath the sink.
14. Turn On Water Supply
Turn the knob that controls the water supply back on. Make sure to have a bucket and towels handy in case any leaks spring up.
15. Check For Leaks
Look for leaks and make any adjustments as needed, making sure not to overtighten anything. If a leak appears and you can’t figure it out, it may be time to call a professional.
Entrust Your Kitchen Remodel To Brucksch & Sons Contracting
Whether you are ready to take on a full-on kitchen remodel or just looking for help replacing a sink, our team at Brucksch & Sons Contracting is here to help.
With our wealth of knowledge and firsthand experience in the field of kitchen remodeling, we have what it takes to turn your dream kitchen into a reality. Plus, we strive to make sure that your remodel runs as smoothly and efficiently as possible so you can get back to using it sooner than you think.
So don’t hesitate; take the first step by filling out our contact form today and see the difference that Brucksch & Sons Contracting can make for your home. We look forward to hearing from you!
